Level Rise
‌Japan Looping Solutions - Level Rise
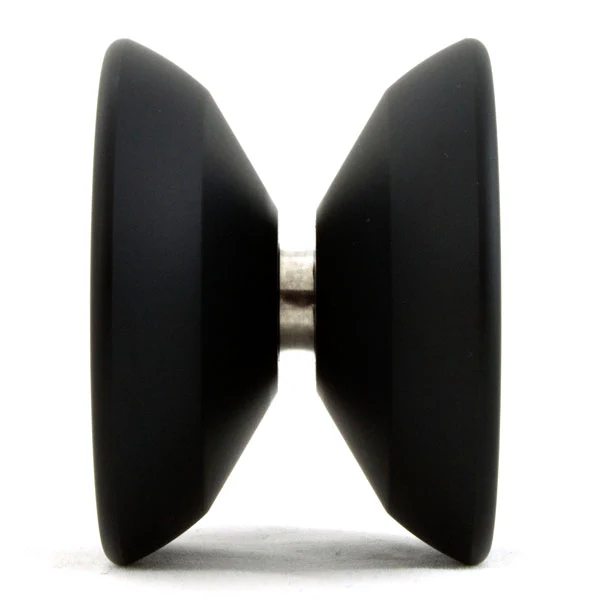
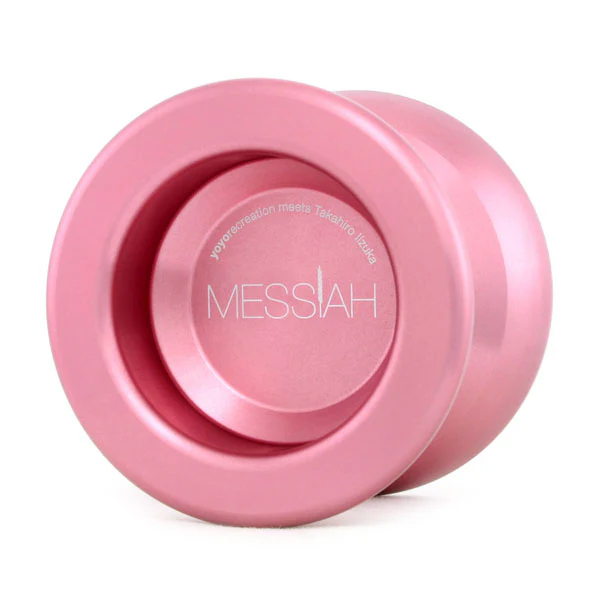
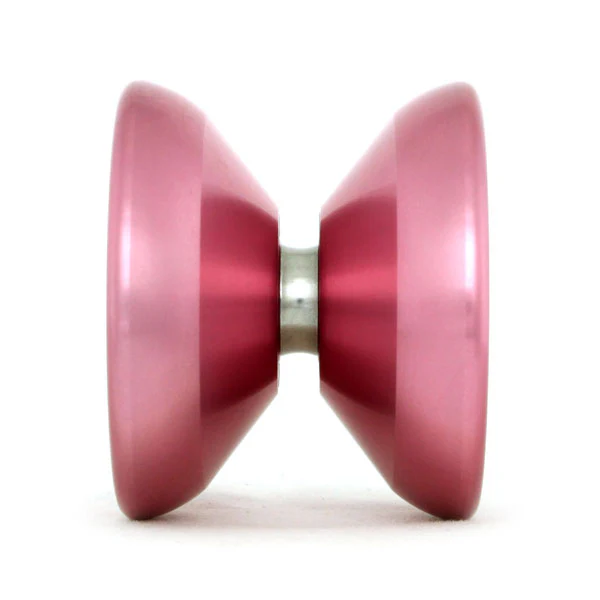
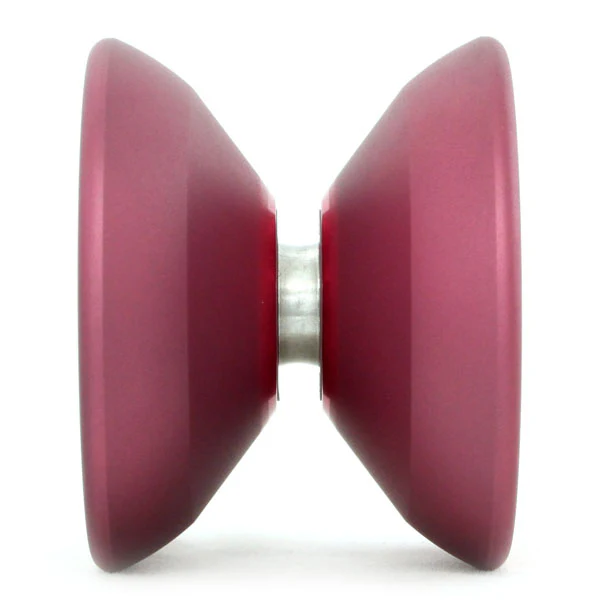
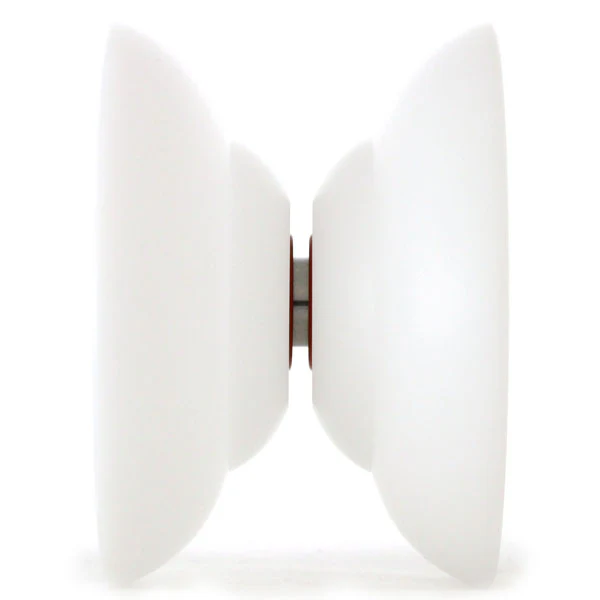
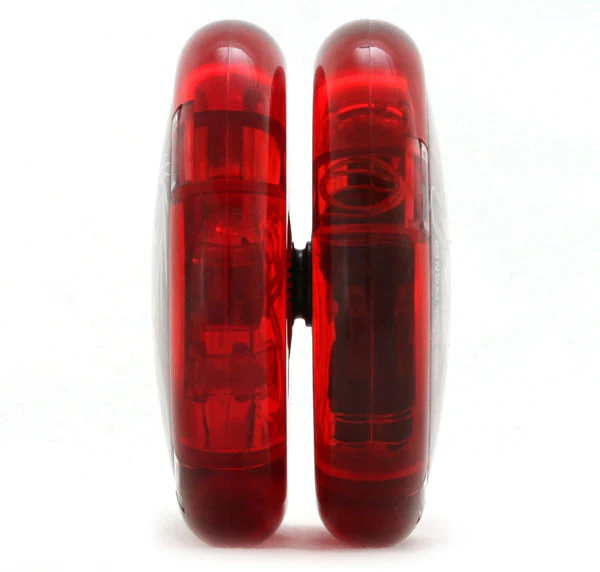
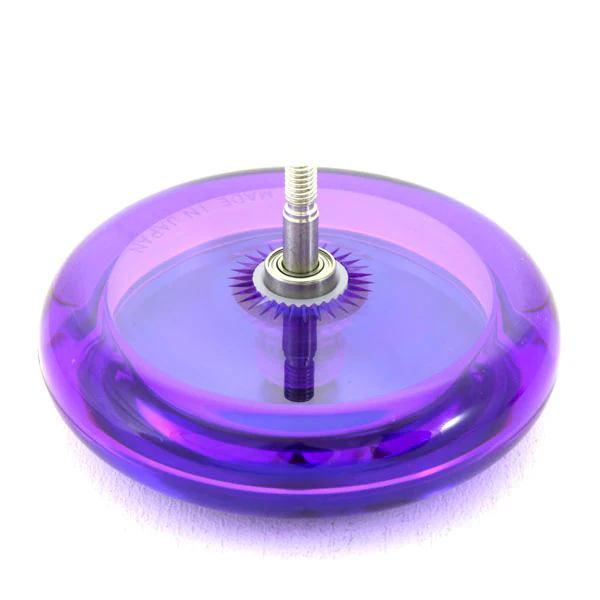
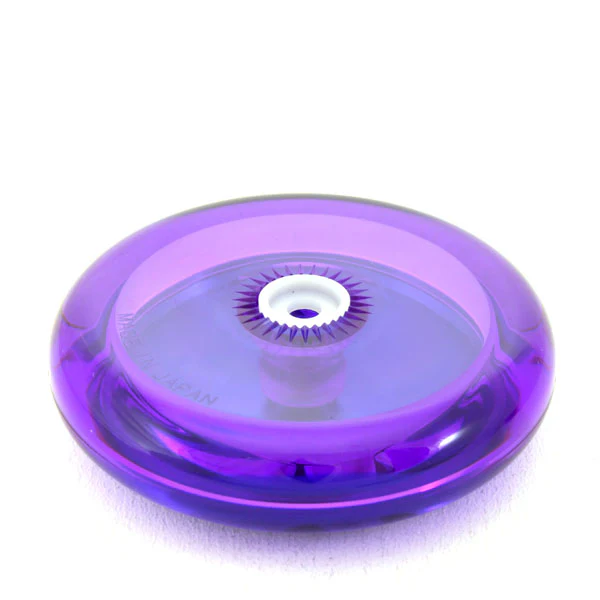
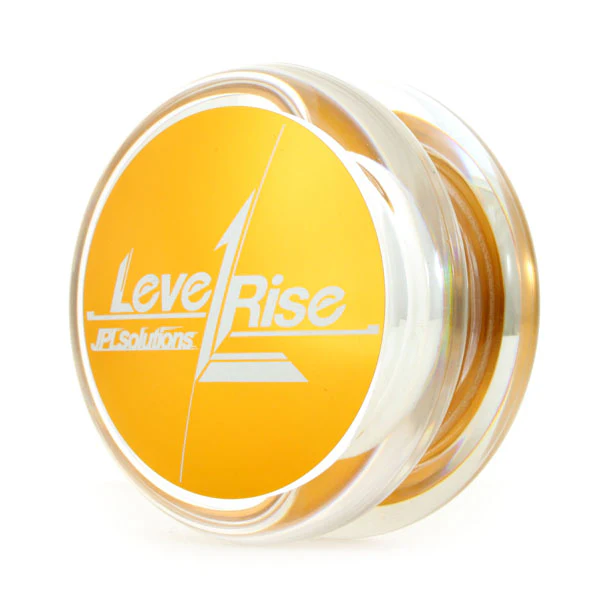
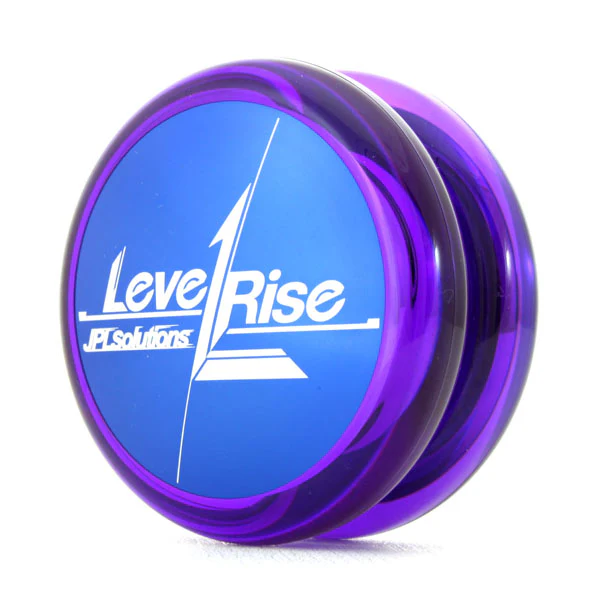
This metal-capped design excels at long stable sleeps and all styles of looping tricks!
**This yo-yo's construction, including the way of assembling, disassembling and adjusting its settings are very different from a normal yo-yo. NOT recommended for beginners!**
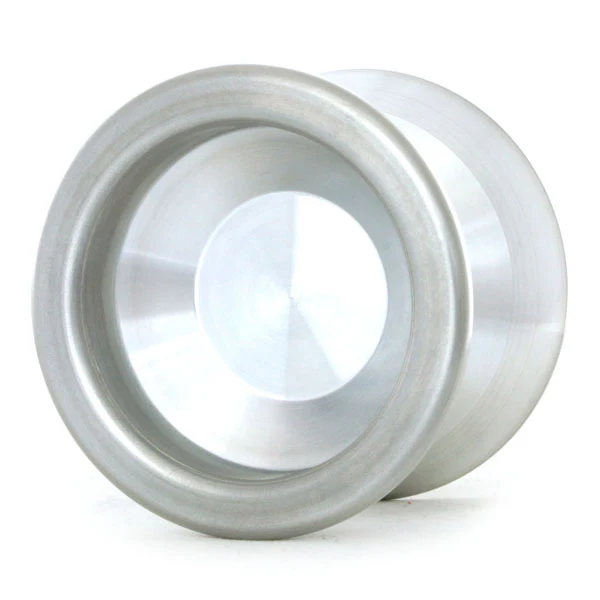
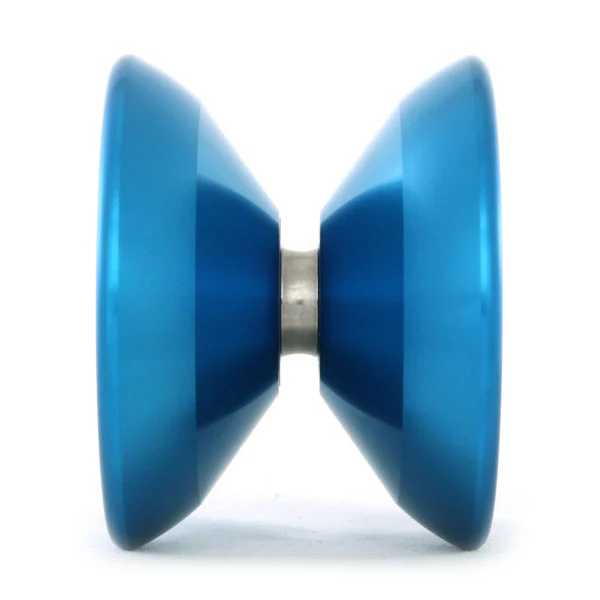
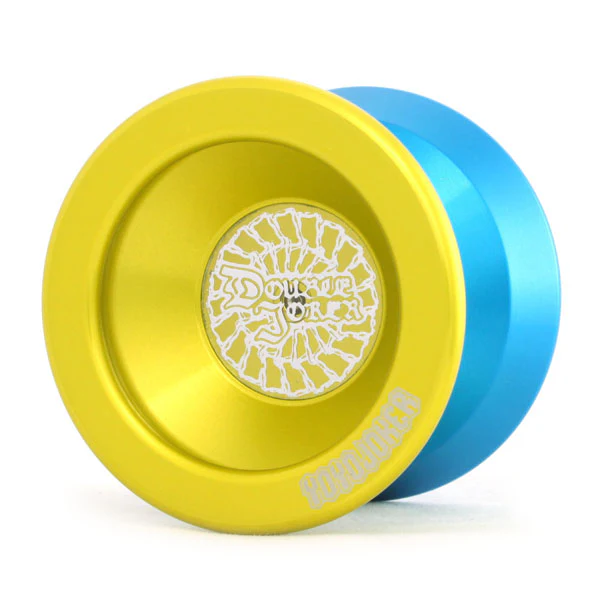
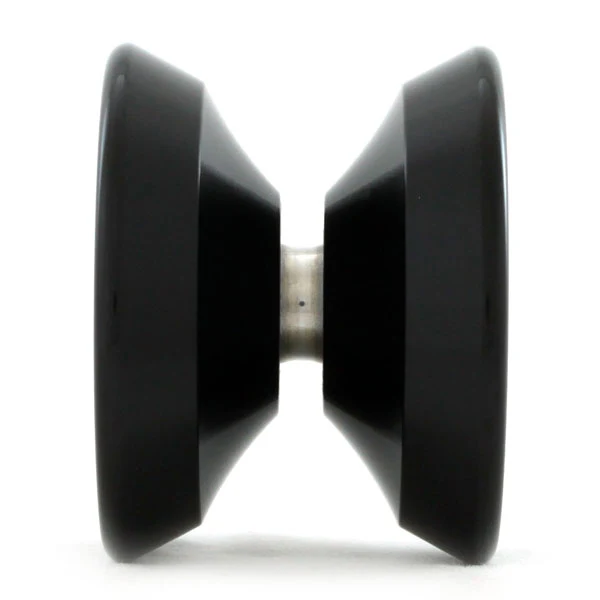
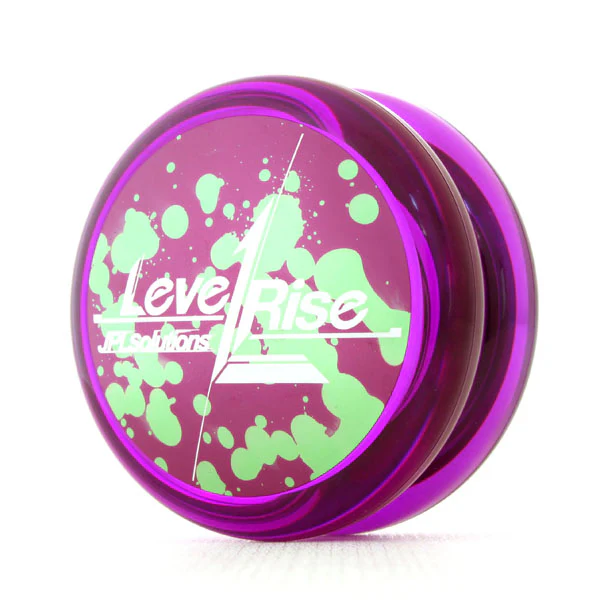
An extremely rare find! This new looping yo-yo from JPLS employs METAL side caps! Essentially, it is a Loop Up with a metal side cap, which greatly increases the force of its spin. That unique weight balance gives a boost to both sleeper tricks and looping play as well, improving stability greatly. Especially during looping practice, the Level Rise is very steady and it's easy to stay on course with beautiful orbits and overall improving your looping experience. The added sleep is also impressive, and we expect a lot of new trick development to come on all fronts of looping trick styles.
Assembly and gap adjustment methods are identical to the Loop Up.
*Adjusting the gap width requires a 6mm wrench (sold separately)
*Because the possibility of the yo-yo coming apart during play is increased by the added momentum of the metal caps, we recommend using the Disassembly-proof Nut Set (sold separately)
*During adjustment it's possibly to accidentally cross-thread or overtighten, damaging the axle threading. This greatly reduces the solidity of the assembly and increases the likelihood of accidental disassembly in mid-air. If this happens, we recommend replacing the axle with a new one.
>>How to Adjust the gap
|
Complete Disassembly Instructions
Reassembly Instructions
How to Adjust Gap Width
|
>>How To Disassemble and Reassemble the Loop Up
>>How To Adjust Gap Width on the Loop Up
>>How To Use the Loop Up Disassembly-proof Nut Set
Original: $54.99
-65%$54.99
$19.25More Images


Level Rise
‌Japan Looping Solutions - Level Rise
This metal-capped design excels at long stable sleeps and all styles of looping tricks!
**This yo-yo's construction, including the way of assembling, disassembling and adjusting its settings are very different from a normal yo-yo. NOT recommended for beginners!**
An extremely rare find! This new looping yo-yo from JPLS employs METAL side caps! Essentially, it is a Loop Up with a metal side cap, which greatly increases the force of its spin. That unique weight balance gives a boost to both sleeper tricks and looping play as well, improving stability greatly. Especially during looping practice, the Level Rise is very steady and it's easy to stay on course with beautiful orbits and overall improving your looping experience. The added sleep is also impressive, and we expect a lot of new trick development to come on all fronts of looping trick styles.
Assembly and gap adjustment methods are identical to the Loop Up.
*Adjusting the gap width requires a 6mm wrench (sold separately)
*Because the possibility of the yo-yo coming apart during play is increased by the added momentum of the metal caps, we recommend using the Disassembly-proof Nut Set (sold separately)
*During adjustment it's possibly to accidentally cross-thread or overtighten, damaging the axle threading. This greatly reduces the solidity of the assembly and increases the likelihood of accidental disassembly in mid-air. If this happens, we recommend replacing the axle with a new one.
>>How to Adjust the gap
|
Complete Disassembly Instructions
Reassembly Instructions
How to Adjust Gap Width
|
>>How To Disassemble and Reassemble the Loop Up
>>How To Adjust Gap Width on the Loop Up
>>How To Use the Loop Up Disassembly-proof Nut Set
Product Information
Product Information
Shipping & Returns
Shipping & Returns
Description
‌Japan Looping Solutions - Level Rise
This metal-capped design excels at long stable sleeps and all styles of looping tricks!
**This yo-yo's construction, including the way of assembling, disassembling and adjusting its settings are very different from a normal yo-yo. NOT recommended for beginners!**
An extremely rare find! This new looping yo-yo from JPLS employs METAL side caps! Essentially, it is a Loop Up with a metal side cap, which greatly increases the force of its spin. That unique weight balance gives a boost to both sleeper tricks and looping play as well, improving stability greatly. Especially during looping practice, the Level Rise is very steady and it's easy to stay on course with beautiful orbits and overall improving your looping experience. The added sleep is also impressive, and we expect a lot of new trick development to come on all fronts of looping trick styles.
Assembly and gap adjustment methods are identical to the Loop Up.
*Adjusting the gap width requires a 6mm wrench (sold separately)
*Because the possibility of the yo-yo coming apart during play is increased by the added momentum of the metal caps, we recommend using the Disassembly-proof Nut Set (sold separately)
*During adjustment it's possibly to accidentally cross-thread or overtighten, damaging the axle threading. This greatly reduces the solidity of the assembly and increases the likelihood of accidental disassembly in mid-air. If this happens, we recommend replacing the axle with a new one.
>>How to Adjust the gap
|
Complete Disassembly Instructions
Reassembly Instructions
How to Adjust Gap Width
|
>>How To Disassemble and Reassemble the Loop Up
>>How To Adjust Gap Width on the Loop Up
>>How To Use the Loop Up Disassembly-proof Nut Set